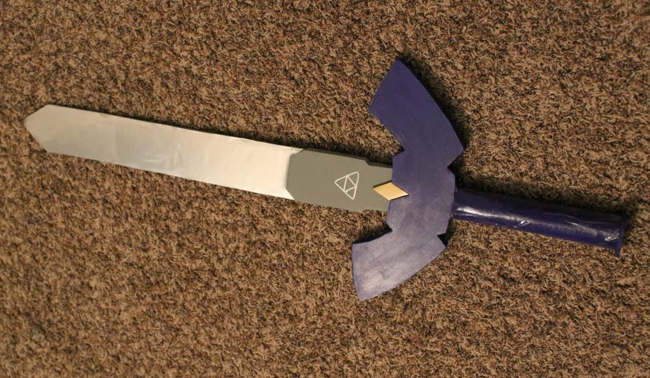
Hey all! Due to the popularity of my Hylian Shield post, I finally decided to get around to doing a post about my Master Sword. (Sorry for this lame photo by the way).
Just like the last post, this isn’t necessarily a “how-to”, but instead a documentation of how I made mine. I’m going to point you in the direction of a tutorial that I roughly followed.
Anyway, here we go!
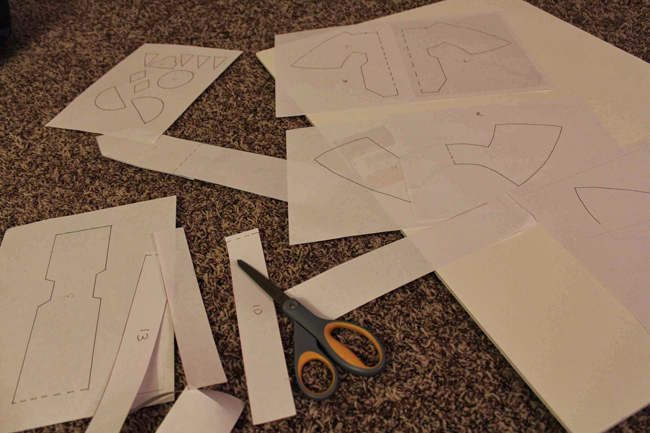
Above are some paper templates that I downloaded from this video tutorial below:
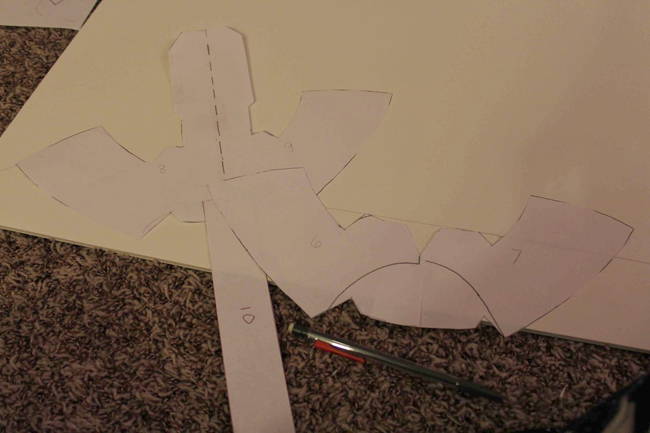
These paper templates weren’t exactly perfect, so I had to modify it a lot. Here’s the end result of what I came up with. I do appreciate the paper templates that were provided though, cause it gave me a great starting point.
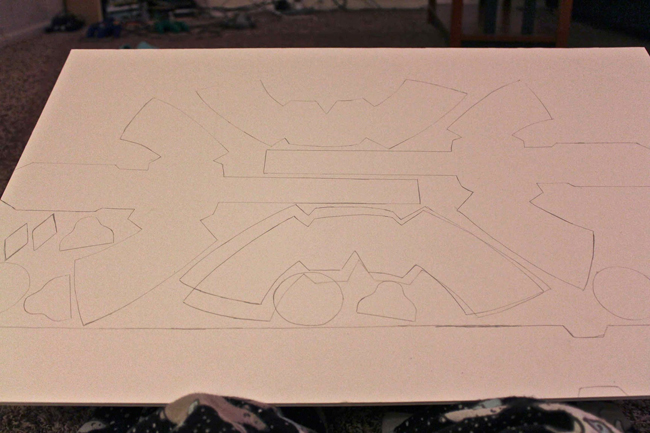
Above you can see how I traced everything out on the foam board that I bought.
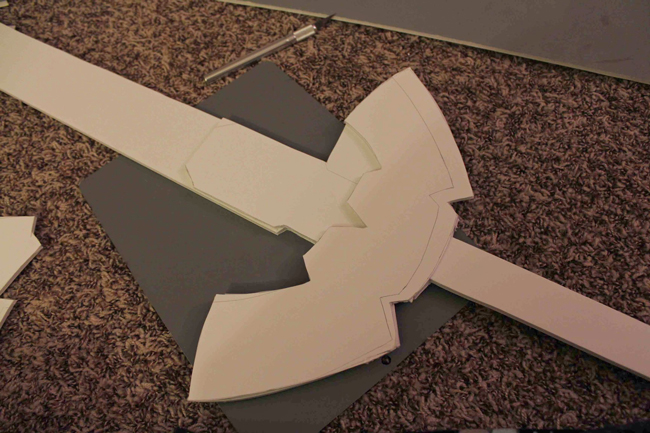
Now here is what it started to look like after I finally cut everything out with my Xacto knife.
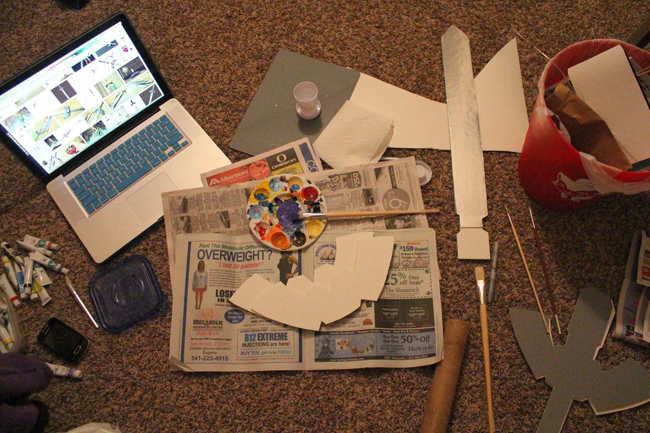
COLOR TIME! Above you can see my messy set up for painting and gluing. I basically mixed some blue and purple together to paint the hilt, and used some of the left over chrome railroad paper to cover the blade. I didn’t get too many pictures of this process, due to my hands being full, and covered with paint.
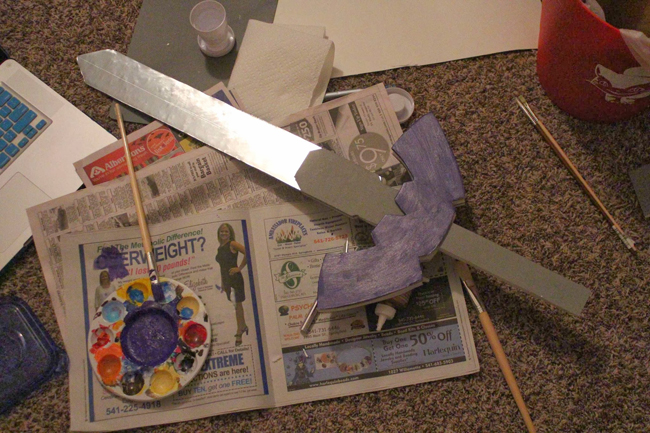


For the diamonds, I used some scrap gold metallic vinyl to cover them. It turned out a lot better than just me painting it.
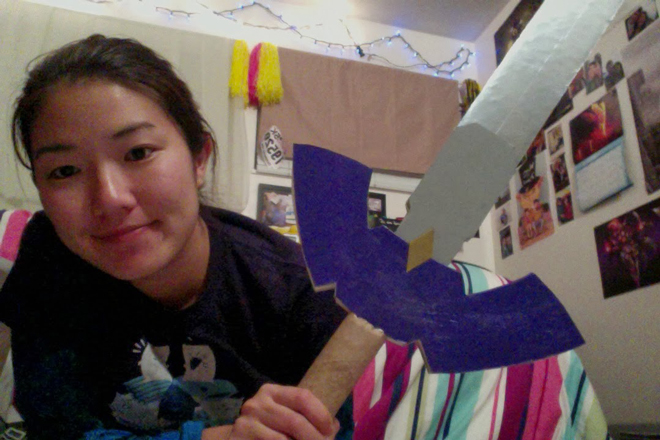
To cover the last of the hilt, I used a paper towel roll, and then painted over it and put packing tape over that once it dried (it was too sticky to hold).
And there you have it! The Master Sword! Made out of extremely cheap materials, and still sturdy enough to hold and semi-swing. Yay!
Anyway, check back up with that video tutorial posted in this entry. It has more step-by-step instructions of what I basically followed.


One Reply to “Project Link: Master Sword”